Hip Thrust: Benefits and Proper Technique
Learn how to perform hip thrusts, including bodyweight, dumbbell, barbell, single-leg and frog-pump variations, with practical technique and recovery tips.
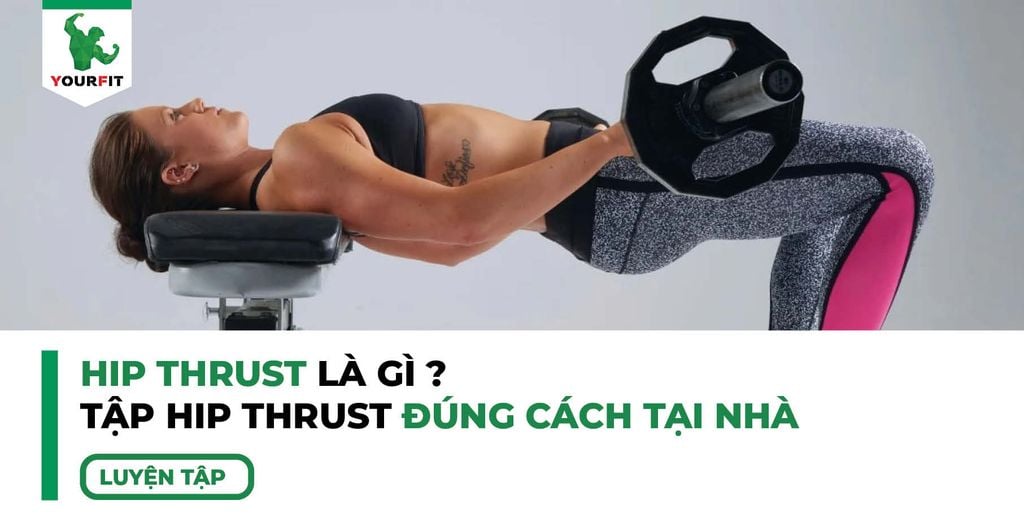
This guide explains what a hip thrust is, the benefits of the movement, popular variations and the technique details that help you train effectively.
1. What is a hip thrust?
The hip thrust is a hip-extension exercise that primarily trains the gluteus maximus. The hamstrings and other lower-body muscles assist with movement and stability. Consistent, progressive training can build stronger, more developed glutes.
You can begin with body weight and progress to dumbbells, a barbell or resistance bands. A hip thrust normally uses a bench to support the upper back; the floor-based version is a glute bridge. Both offer useful options for different abilities and equipment.
2. Benefits of hip thrusts

2.1. Develop the glutes with consistent technique
Practising regularly with an appropriate load can build glute strength and muscle. Progress comes from consistent training and recovery, rather than a guaranteed body shape.
2.2. Complement other lower-body exercises
Stronger glutes and better hip-extension control can support a programme containing compound movements such as deadlifts and leg presses. Hip thrusts are a useful addition to balanced lower-body training.
2.3. Improve strength and muscular endurance
Hip thrusts can help athletes and recreational lifters develop the strength and endurance used in demanding lower-body activity. Stronger muscles may support physical readiness, but no exercise guarantees injury prevention.
2.4. Support everyday movement
Training the glutes and maintaining trunk control can improve your capacity for movement around the hips and lower body. Adjust the exercise to your needs if you have knee or back symptoms; it is not a treatment for joint problems or back pain.
2.5. Contribute to an active weight-management routine
Hip thrusts use energy and can be combined with cardio and other strength exercises. Changes in body fat depend on the overall balance of activity, nutrition and recovery, rather than one exercise alone.
3. Popular hip thrust variations
3.1. Bodyweight hip thrust
- Set up: Rest your upper back against a stable bench, bend your knees and plant your feet. Keep your arms beside you for balance. If working on the floor, use the glute bridge version.
- Lift: Keep the feet and upper-back support stable. Press through the feet, emphasizing the heels, and raise your hips. Squeeze the glutes at the top and hold for 1–2 seconds.
- Lower: Inhale as you return slowly to the starting position. Maintain control rather than completely relaxing.
- Repeat: Work toward 3–5 sets of 15–20 repetitions according to your ability. Pause for about one second between repetitions and keep a steady rhythm.
3.2. Dumbbell hip thrust
- Set up: Support your upper back on a bench and place a manageable dumbbell across the front of your hips, holding both ends securely. Bend your knees and plant your feet.
- Lift: Drive through your feet until the shoulders, hips and knees form a straight line. Keep the dumbbell stable and avoid arching the lower back.
- Lower: Inhale and return slowly, keeping muscular tension and control of the weight.
- Repeat: Aim for 3–5 sets of 15–20 repetitions if appropriate for your level, pausing about one second between repetitions rather than rushing.
3.3. Barbell hip thrust
- Set up: Place your upper back against a stable bench and position a barbell across your hip crease. Add a load you can control and hold the bar securely. Bend the knees and plant the feet.
- Lift: Press through the feet to extend your hips until the shoulders, hips and knees align. Keep the bar balanced across your hips.
- Lower: Inhale and lower slowly while maintaining tension and a controlled torso position.
- Repeat: Use 3–5 sets of 15–20 repetitions as a possible higher-repetition approach, adjusting the load and volume to your ability. Pause about one second between repetitions.
3.4. Single-leg hip thrust
- Set up: Support your upper back on a bench, or use the floor-based bridge option. Plant one foot and lift the other leg. Use your arms for balance.
- Lift: Drive through the planted foot and raise the hips, keeping the pelvis level. Finish with the shoulders, hips and the working knee aligned rather than lifting by arching the back.
- Lower: Inhale and return slowly without losing control of the hips.
- Repeat: Perform 2–4 sets of 10–12 repetitions per side as appropriate, with a brief one-second reset between repetitions.
3.5. Frog-pump hip thrust
- Set up: Lie on a mat with knees bent. Bring the soles of your feet together and allow the knees to open comfortably. A resistance band above the knees can add resistance.
- Lift: Place your arms beside your hips for balance. Raise the hips while keeping the feet together and the knees comfortably open, squeezing the glutes without overextending the back.
- Lower: Inhale and lower under control, retaining muscular tension.
- Repeat: Try 2–4 sets of 10–12 repetitions according to your level, pausing about one second before the next repetition.
4. Important hip thrust technique tips

Choose a variation that matches your goal and practise the movement before adding a challenging load.
- Use a mat for floor-based work and warm up with comfortable joint movements and light repetitions.
- Maintain a steady breathing rhythm. Avoid rushing until you become breathless and lose control.
- Adjust foot placement so the knees are approximately at a right angle at the top. Avoid an excessively wide or narrow stance; keep the feet planted and emphasize pressure through the heels.
- Brace the abdomen and maintain a neutral back. Move slowly and rhythmically instead of using momentum.
- Use a load that allows you to feel the glutes doing the work.
- Allow recovery between sessions and combine training with adequate, balanced nutrition.
5. Conclusion
Understanding hip thrust technique and its variations makes it easier to choose the right challenge for your body. Apply these principles consistently to build lower-body strength and improve your training.