Decline Push-Ups: Benefits, Proper Form and Progressions
Learn how feet-elevated push-ups work your chest, shoulders and triceps, how to perform them with control, and when to choose an easier variation.

A decline push-up is a push-up performed with your feet raised and your hands on the floor. It places greater demands on your upper body than a standard floor push-up, while your trunk works to keep your body aligned. All you need is a stable raised surface, but the extra difficulty makes this a progression to earn through good technique.
This guide explains the muscles involved, the benefits and limitations, four variations, and the mistakes to watch for. If you are still learning the basic movement, begin with the standard push-up guide before raising your feet.
1. What is a decline push-up?
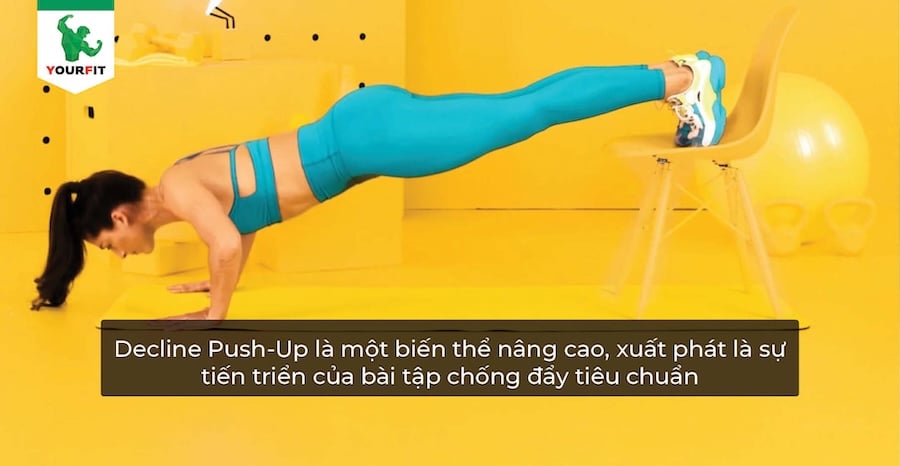
In a decline push-up, your toes rest on a secure bench, step or exercise box while your hands support you on the floor. Your chest, front shoulders and triceps produce the pushing movement. Your abdominal muscles and other trunk muscles help resist sagging or twisting.
The raised feet change your body angle and increase the upper-body loading. This is different from an incline push-up, where the hands are raised and the movement is generally easier. A higher foot position also changes the movement toward a more shoulder-dominant press; raising the feet as high as possible is not the goal.
Once the basic version is comfortable, possible progressions include a single-leg decline push-up, a one-arm decline push-up and an explosive decline clap push-up. These differ substantially in difficulty and should not be treated as interchangeable beginner options.
2. Benefits of decline push-ups
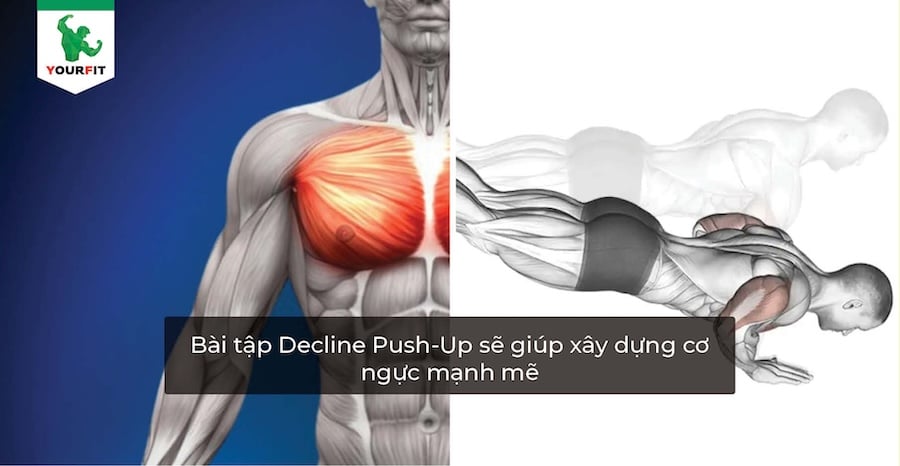
2.1. A harder pushing exercise for the chest and shoulders
Elevating the feet makes the chest, front shoulders and triceps work against a greater share of body weight. This can provide a useful next step when regular push-ups no longer offer enough challenge. Keeping the same setup across sessions also makes progress easier to judge: you can compare controlled repetitions at the same foot height.
The exercise develops upper-body strength and can contribute to chest and shoulder muscle growth within a progressive programme. It also demands coordination through the trunk and legs. Advanced bodyweight skills still require their own preparation; doing decline push-ups does not automatically make a handstand or other advanced position safe.
2.2. Practising shoulder control
The muscles around the shoulder work together to support the movement. Learning to lower and press smoothly can improve your control under load. This does not mean decline push-ups prevent rotator-cuff injuries or suit every shoulder. The rotator cuff is a group of muscles and tendons, and a painful shoulder may need an assessment rather than a harder push-up.
2.3. Training the trunk to stay steady
Your abdominal and gluteal muscles help hold the body in a long, stable line while your arms move. That makes the exercise useful for practising trunk control as well as pushing strength. Visible abdominal definition depends on more than this exercise, including overall body composition; decline push-ups cannot promise a particular appearance.
2.4. A practical addition to a broader fitness routine
Decline push-ups require little equipment and can fit into home training or a gym session. They contribute to physical activity and muscular work, but they do not selectively remove fat from the arms, shoulders or back. If fat loss is your goal, consider the whole week of activity, eating habits and recovery rather than the calorie burn of one movement.
For busy people, the practical advantage is convenience. A manageable routine that you can repeat consistently is more useful than an advanced variation that leaves you unable to maintain technique.
3. How to perform decline push-up variations
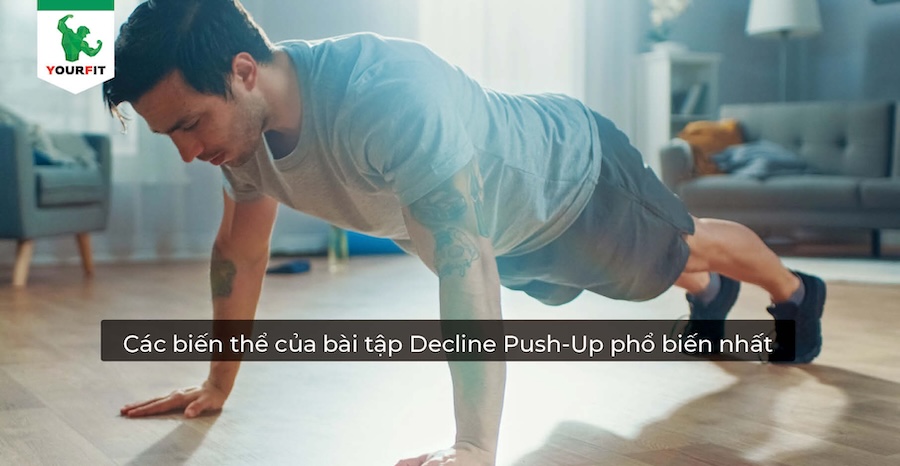
3.1. Basic decline push-up
- Set up: choose a firm, non-slip step or bench that cannot slide or tip. A height around 30–60 cm may be suitable for some trained people, but start lower if needed. Put your hands on the floor around shoulder-width or slightly wider and place your feet on the support.
- Brace: align your head, trunk and legs. Keep the abdomen engaged without holding a rigid, uncomfortable breath. Look toward the floor so your neck follows your spine.
- Lower: inhale as you bend your elbows and bring your chest toward the floor. Let the elbows travel at a comfortable angle rather than flare straight sideways. Keep the hips from dropping.
- Press: exhale as you push the floor away and return to the starting position. Finish with controlled arm extension rather than snapping the elbows backward.
- Repeat: an example target is 3–4 sets of 8–10 controlled repetitions, adjusted to your ability and the rest of your workout. Use fewer repetitions or an easier variation when form starts to change. Rest between sets long enough to repeat good-quality work.
A brief pause can help you stay in control, but a two- or three-second pause between repetitions is not a substitute for adequate rest between sets.
3.2. Single-leg decline push-up
Begin with the same secure setup, then lift one foot slightly away from the support. Keep your pelvis level and the raised leg long behind you. Lower and press without letting the trunk rotate, then change the supported leg so both sides receive practice.
This variation increases the balance and trunk-control demands. The aim is not to lift the free leg as high as possible. A possible progression is 2–3 sets of up to 8–10 repetitions, but only if you can maintain the same control as in the two-foot version. Reduce the target if necessary.
3.3. One-arm decline push-up
This is an advanced strength skill, with much greater demands on the supporting arm and trunk. Place one hand on the floor, set your elevated feet in a stable position and keep the free arm clear of the movement. Lower through the supporting elbow, resisting trunk rotation, then press back up.
Do not jump directly from ordinary push-ups to this version. Learn an appropriate assisted or ground-level one-arm progression first and have a coach assess whether raising your feet is suitable. There is no need to force a fixed set or repetition target when control is not yet established.
3.4. Decline clap push-up
With both feet supported, lower under control and then push forcefully enough for the hands to leave the floor briefly. A clap is optional; the essential skill is a controlled take-off and a soft landing with the elbows able to bend. Reset your position before another repetition.
This explosive progression is for people who already manage controlled decline push-ups and simpler explosive push-ups. It is not a wrist-powered movement, and it should not be performed to exhaustion. Stop when you cannot land steadily or keep your trunk aligned. A coach can help select a safer power progression if this version is too demanding.
4. Common mistakes and how to correct them
4.1. Snapping the elbows at the top
Straightening your arms under control is part of completing a push-up. The problem is forcefully throwing the elbows into an uncomfortable end position. Keep the movement smooth and choose a load you can manage through the full repetition.
4.2. Placing the hands too far forward
Begin with the hands roughly beneath the shoulders and adjust slightly for comfort. Reaching far ahead can make the movement harder to control. Keep the elbows at a comfortable angle to the torso, rather than forcing them either tightly against the ribs or directly sideways.
4.3. Using a height that shortens every repetition
If you can only lower a small distance, reduce the foot height or return to a floor, knee or hands-elevated push-up. Work through a comfortable range that you can control. There is little benefit in choosing a harder label while losing the movement you are trying to practise.
4.4. Skipping preparation or losing trunk position
Prepare the wrists and shoulders with comfortable movement and a few easier push-ups before the working sets. Keep the abdomen and glutes engaged, avoid letting the lower back sag and maintain a neutral neck. If the exercise causes joint pain, stop and reassess the setup rather than pushing through it.
5. Make the progression fit your programme
Decline push-ups are useful when they provide an appropriate challenge, not simply because they look harder. Start with a stable, manageable height, practise consistent repetitions and progress when you can maintain control. If you would like help choosing the right pushing exercises and workload, explore Strength & Technique Training at YourFit.